
Reno started to play around with the fluid particles and containers after the first render test in order to create the fog.

Reno created a larger container and played around with various attributes in order to gain a better understanding of how the fluid particles work in Maya.

Before we bring the fog element into the scene, Reno did a simple test with simple red spheres to represent the seaforts and experimented with different attributes and looks to gain a better understanding efficiently without having to do expensive renders in our massive scene.


Above images are the same fog container with different colour ramps and opacities as we were trying to achieve the best looking fog from a distance.


In order to lower the render time, we hid all the seaforts except for one and lower the scene quality to the minimum level acceptable.


When the fog started to look more like the way we want through a huge amount of tweaking, we rendered out images of our scene with the camera being in various distances in order to see the opacity. We were trying to have the fog acting like a rim covering a perimeter around the main seafort in the centre. This way when the camera approaches, it will give the effect of unrevealing the target to the audience as they view it, adding a sense of mysteriousness.


Above images are test renders Reno did to determine opacity and the final look of our fog after the second successful render from the renderfarm.

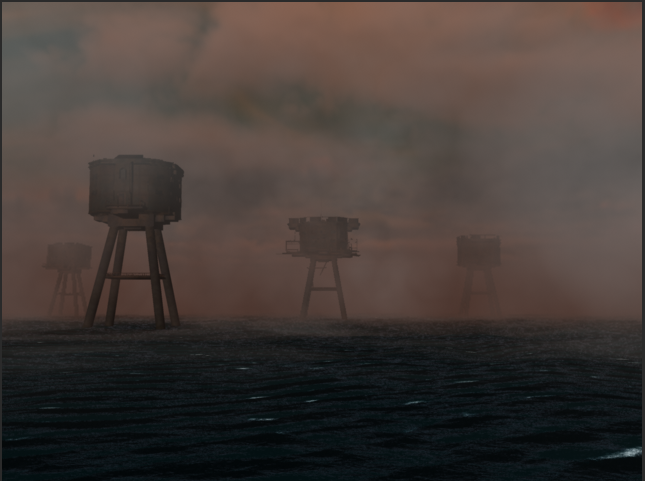
The final look of the fog in our scene.
No comments:
Post a Comment